

An EtherCAT Network of Raspberry Pi Computers
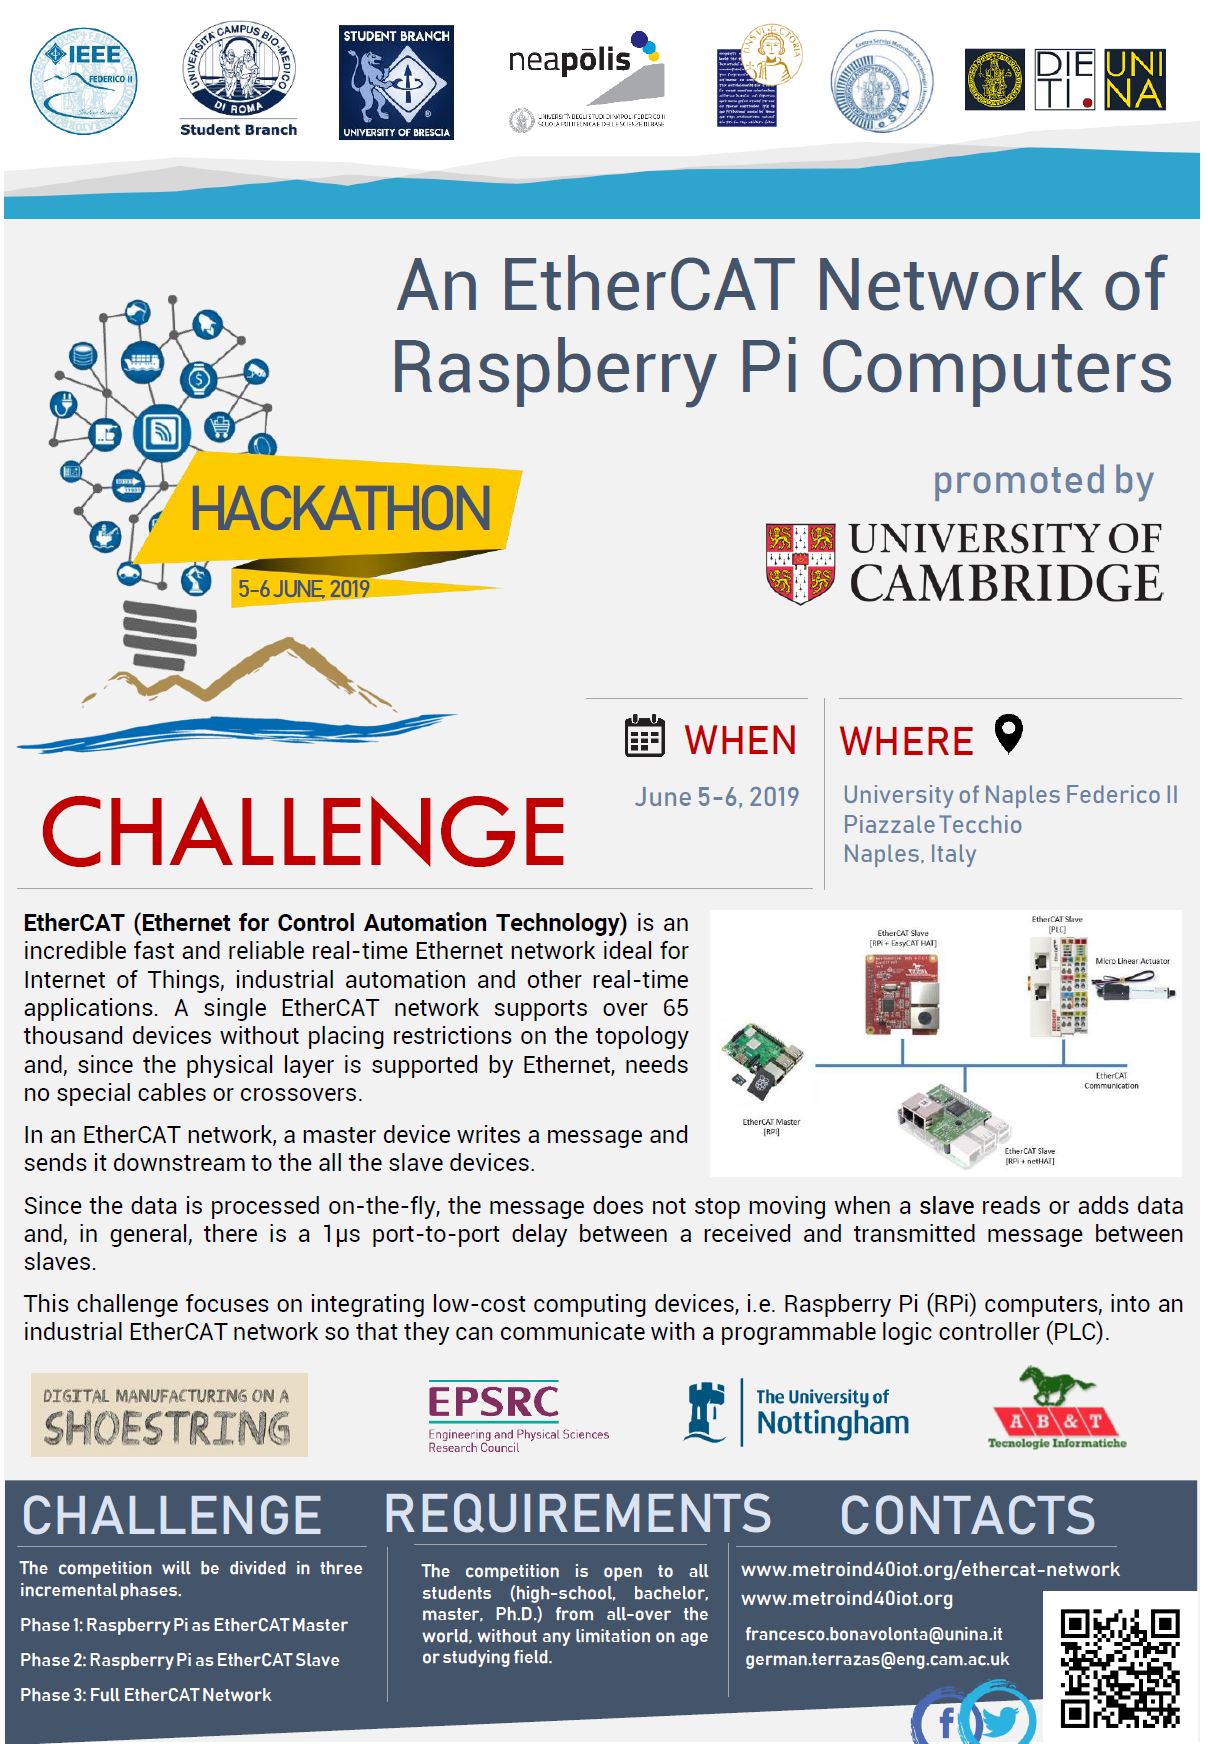
EtherCAT (Ethernet for Control Automation Technology) is an incredible fast and reliable real-time Ethernet network ideal for Internet of Things, industrial automation and other real-time applications. A single EtherCAT network supports over 65 thousand devices without placing restrictions on the topology and, since the physical layer is supported by Ethernet, needs no special cables or crossovers. In an EtherCAT network, a master device writes a message and sends it downstream to the all the slave devices. Since the data is processed on-the-fly, the message does not stop moving when a slave reads or adds data and, in general, there is a 1μs port-to-port delay between a received and transmitted message between slaves. This challenge focuses on integrating low-cost computing devices, i.e. Raspberry Pi (RPi) computers, into an industrial EtherCAT network so that they can communicate with a programmable logic controller (PLC). In order to achieve this, the challenge is divided in three incremental phases.
Phase 1: Raspberry Pi as EtherCAT Master
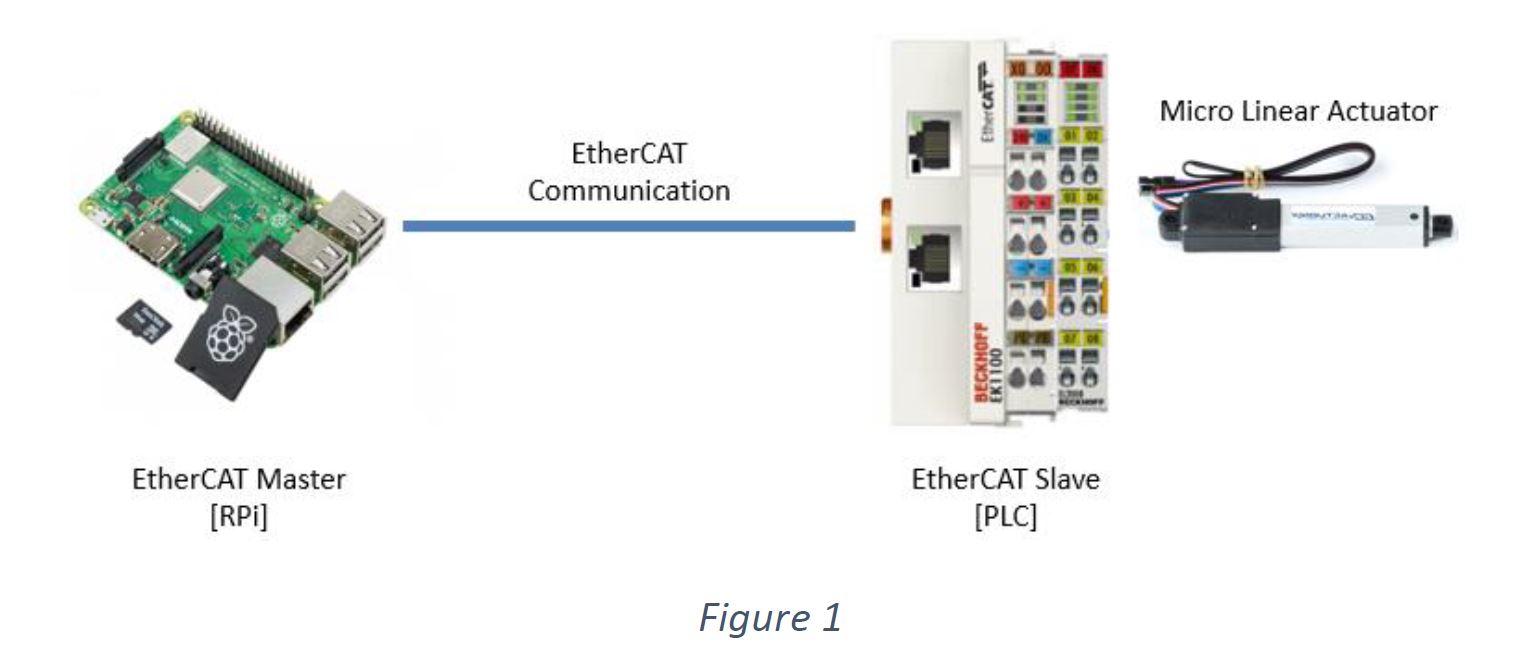
Build a very simple EtherCAT network with a RPi working as master and a PLC working as slave as shown in Figure 1. In order to realise this, you will need to patch the RPi OS with the open source dual-kernel real-time extension Xenomai and the IgH EtherCAT master stack. After testing the software, physically connect the RPi and the PLC to make the actuator work by sending commands from the RPi.

(Options: you can choose a different dual-kernel or a preemptive kernel real-time extension as long as it is open source and it works together with IgH EtherCAT in RPi).
Phase 2: Raspberry Pi as EtherCAT Slave
This phase is about testing the performance of commercial technologies that enable a RPi to work as an EtherCAT slave device. In order to achieve this, you will need to integrate and install the EasyCAT HAT interface and the netHAT interface on two different RPis. Following this, design and implement a performance test on at least two common technical features shared by the interfaces. Finally, replace the PLC from the network built in phase 1 with each extended RPi in turns, run the performance test independently and report the results.
Phase 3: Full EtherCAT Network
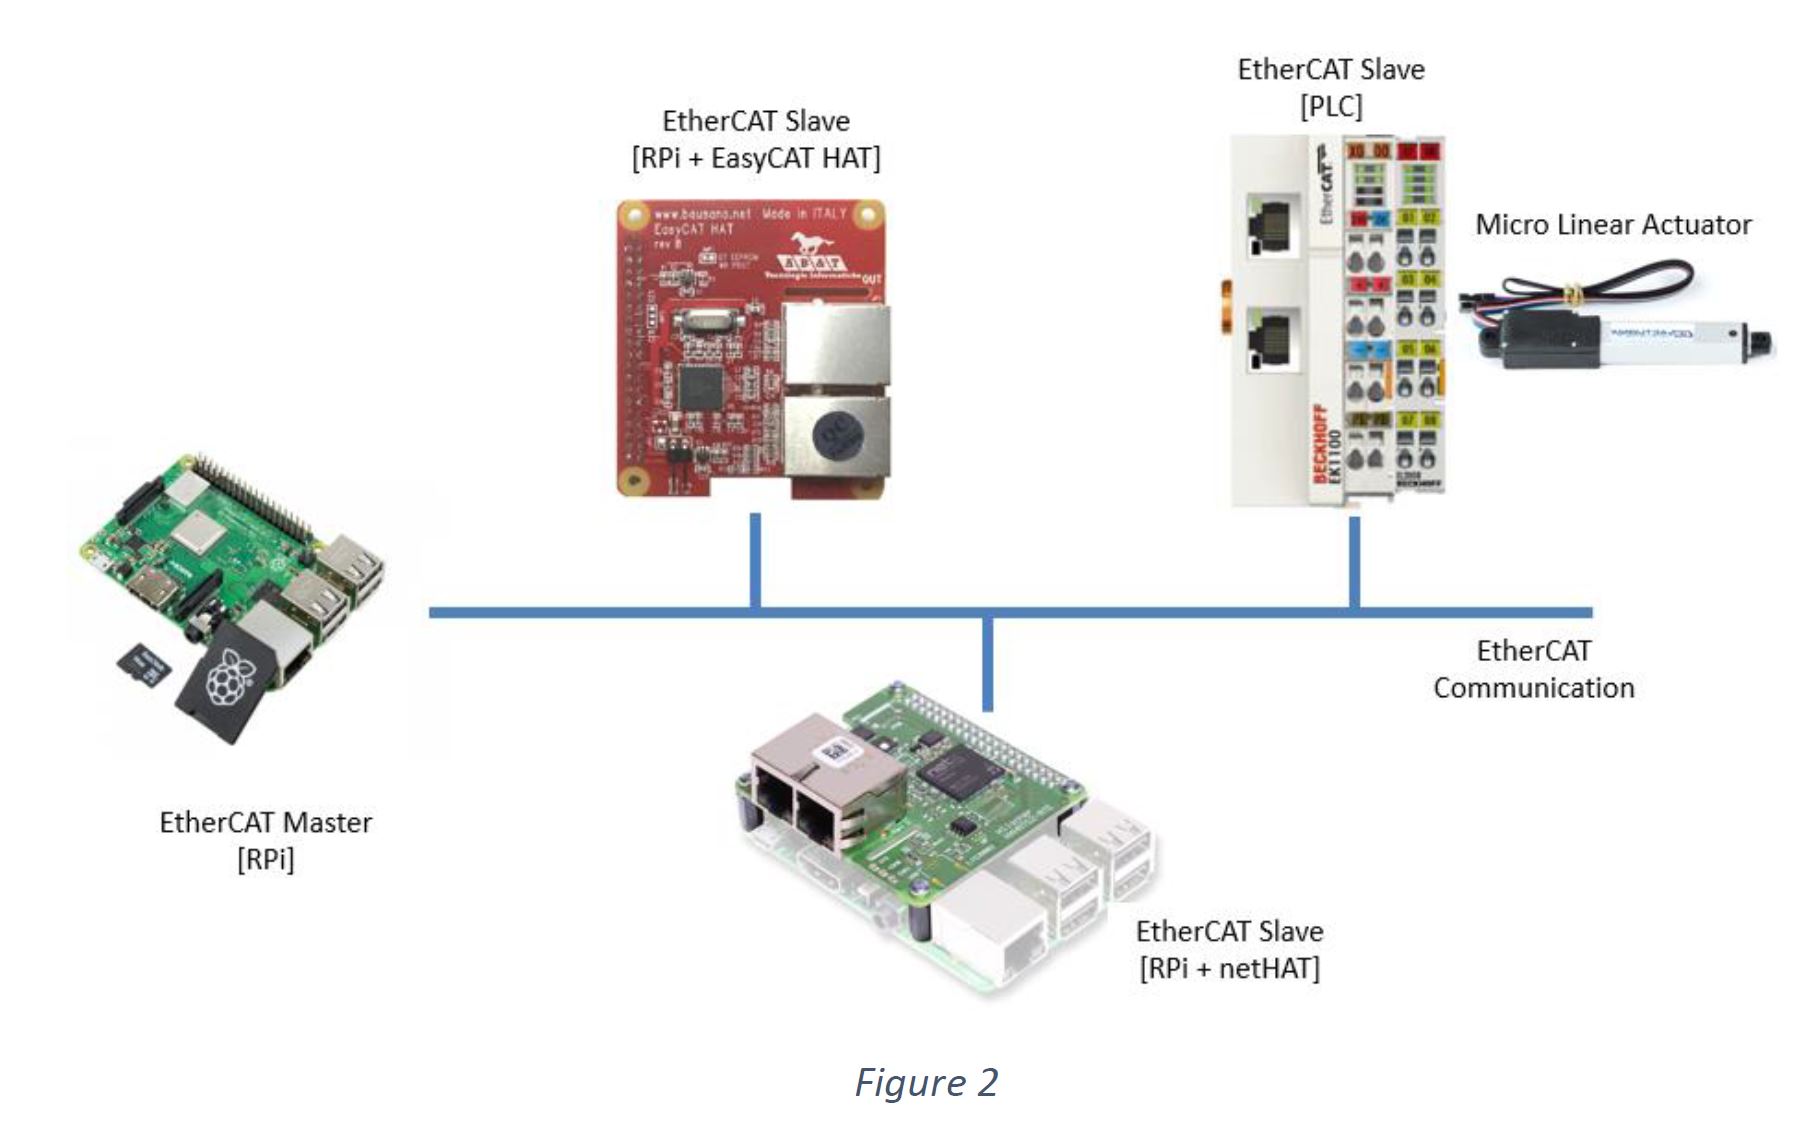
This phase brings together Phase 1 and Phase 2. You will build a network with a RPi working as a master and three slaves: a RPi extended with EasyCAT HAT (slave 1), a RPi extended with netHAT (slave 2) and a PLC with actuator (slave 3) as shown in Figure 2. As in Phase 1, you are required to make the actuator work by sending commands from the RPi master. In addition, you will program slave 1 to tweet the message with a dedicated hashtag and slave 2 to log the same message to a local file.

On-line Registration
- German Terrazas
- Francesco Bonavolontà
University of Naples Federico II
Piazzale Tecchio
Naples, Italy
5-6 June 2019


